In an era where home security has become paramount, installing security cameras is one of the most effective ways to safeguard your property. With advancements in technology, homeowners now have access to a variety of security camera systems that can be tailored to their specific needs. This guide provides a comprehensive, step-by-step approach to installing home security cameras, ensuring you can effectively monitor and protect your home.
Understanding the Importance of Home Security Cameras
Home security cameras serve as a deterrent to potential intruders and provide peace of mind to homeowners. The presence of visible cameras can discourage criminal activity, while hidden cameras can capture evidence should an incident occur. Additionally, many modern systems offer remote viewing capabilities, allowing homeowners to monitor their property in real-time from anywhere in the world.
Moreover, the integration of smart technology has revolutionised home security. Many cameras now come equipped with features such as motion detection, night vision, and two-way audio, enhancing their functionality and effectiveness. Understanding these features is crucial when selecting the right system for your home.
Choosing the Right Security Camera System
Before diving into the installation process, it’s essential to choose the right security camera system that meets your needs. Consider the following factors:
- Type of Camera: Options include indoor, outdoor, wired, and wireless cameras. Each type serves different purposes and has unique installation requirements.
- Resolution: Higher resolution cameras provide clearer images, which can be vital for identifying intruders.
- Field of View: A wider field of view allows you to cover more area with fewer cameras.
- Storage Options: Consider whether you prefer cloud storage or local storage solutions for your footage.
Researching various brands and reading customer reviews can also help you make an informed decision. Look for systems that offer reliable customer support and warranty options, ensuring you have assistance if needed.
Preparing for Installation
Once you have selected your security camera system, the next step is preparation. This phase involves planning where to install the cameras for optimal coverage.
Assessing Your Property
Walk around your property and identify key areas that require monitoring. Common locations include:
- Entry points such as doors and windows
- Driveways and garages
- Backyards and side entrances
- Common areas such as living rooms and hallways
Consider the lighting conditions in each area, as well-lit spaces will enhance the camera’s effectiveness. Additionally, ensure that the cameras are positioned to avoid obstructions that could hinder their view.
Gathering Necessary Tools
Before beginning the installation, gather all necessary tools and equipment. Typical tools required include:
- Drill and drill bits
- Screwdriver
- Measuring tape
- Level
- Wire strippers (for wired cameras)
Having these tools on hand will streamline the installation process and prevent unnecessary delays.
Step-by-Step Installation Process
Now that you are prepared, follow these steps to install your security cameras effectively:
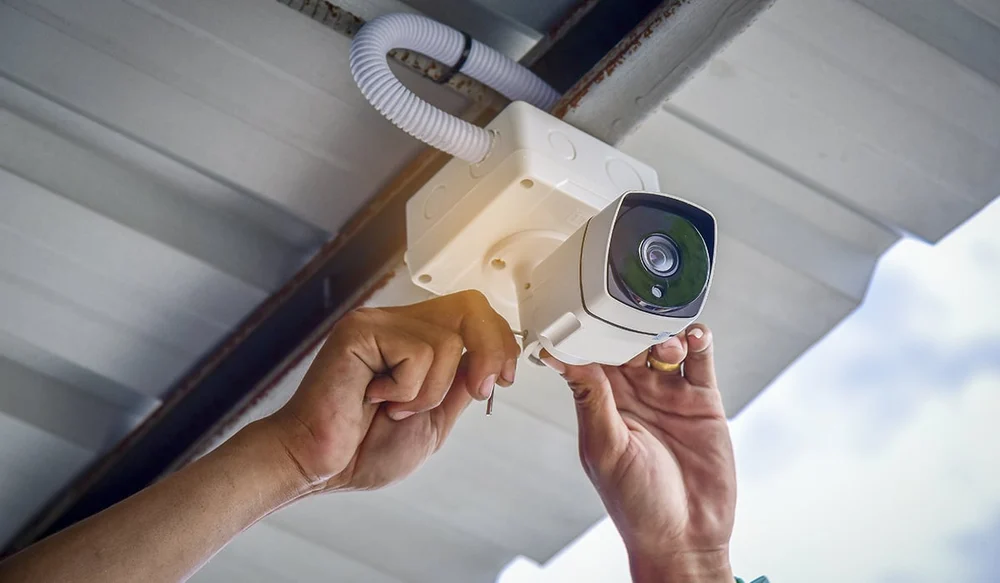
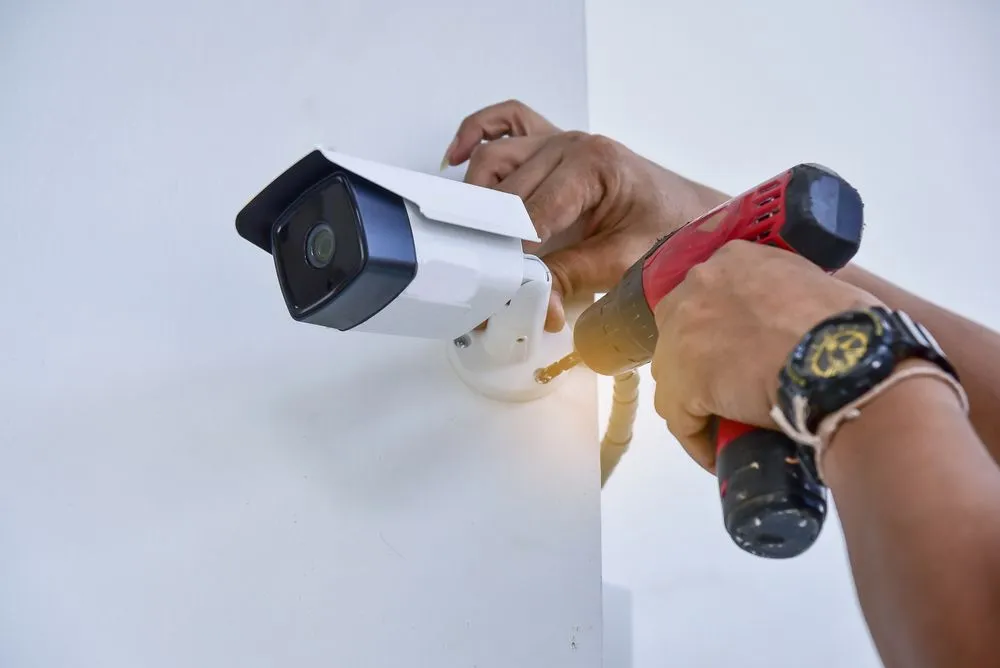
Step 1: Mounting the Cameras
Begin by marking the spots where you will mount the cameras. Use a level to ensure that the cameras are straight. If you are installing outdoor cameras, ensure they are weatherproof and positioned to avoid direct sunlight, which can cause glare.
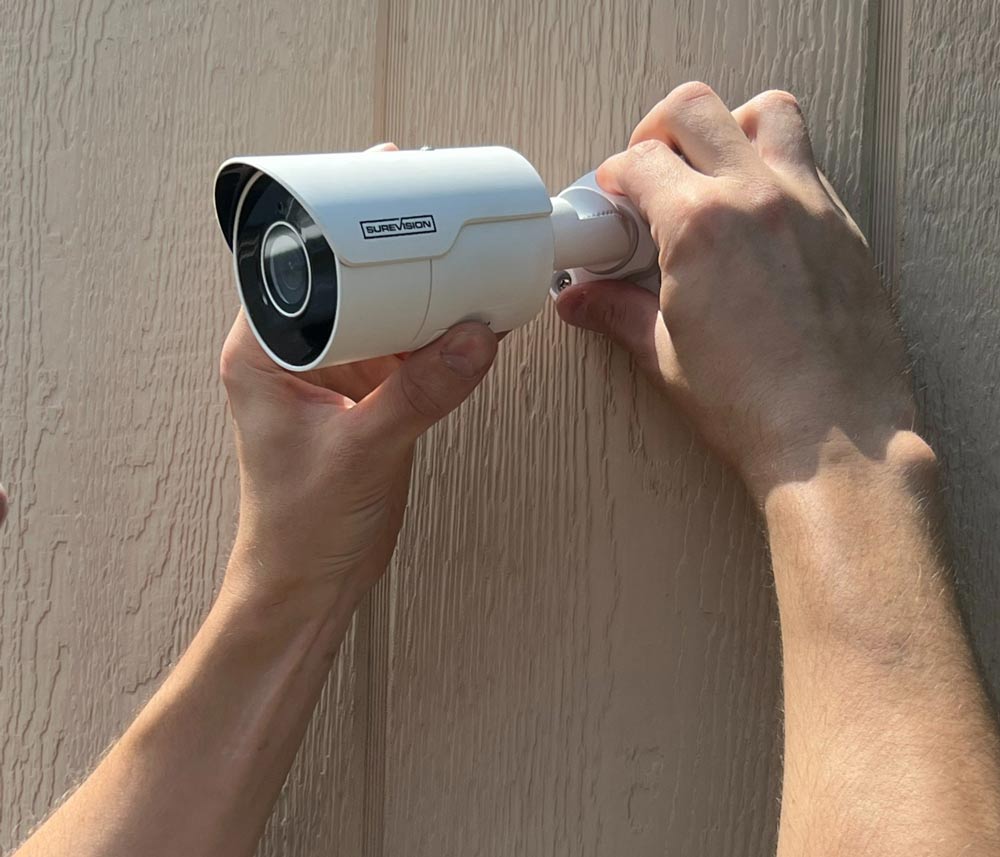
For wired cameras, drill holes for the mounting brackets and run the cables through the walls or ceilings as needed. For wireless cameras, ensure they are within range of your Wi-Fi network for optimal performance.
Step 2: Connecting the Cameras
For wired cameras, connect the power supply and video cables according to the manufacturer’s instructions. Ensure all connections are secure to prevent any interruptions in service. For wireless cameras, follow the setup instructions to connect the cameras to your Wi-Fi network.
Once connected, power on the cameras and check for any issues. If the camera does not power on, double-check your connections and ensure the power source is functioning.
Step 3: Configuring the System
After successfully mounting and connecting the cameras, the next step is to configure the system. This typically involves downloading the associated mobile app or software on your computer. Follow the prompts to set up your account and add your cameras to the system.
During this process, you can adjust settings such as motion detection sensitivity, recording schedules, and notification preferences. Customising these settings will enhance your security and ensure that you receive alerts when necessary.
Step 4: Testing the System
Once everything is set up, conduct a thorough test of the system. Walk around your property to trigger the cameras and ensure they are capturing footage as expected. Check the clarity of the video and the effectiveness of the motion detection features.
It is also advisable to review the footage to ensure that the cameras are positioned correctly and that there are no blind spots. Make any necessary adjustments to the camera angles or settings based on your observations.
Maintaining Your Security Camera System
After installation, regular maintenance is essential to ensure your security camera system operates effectively. Here are some maintenance tips:
Regular Cleaning
Dust and debris can accumulate on camera lenses, affecting image quality. Regularly clean the lenses with a soft cloth to maintain clear visibility. For outdoor cameras, check for any obstructions such as branches or foliage that may block the view.
Software Updates
Keep your camera’s firmware and associated software up to date. Manufacturers often release updates that improve functionality and security. Regularly check for updates through the app or software interface.
Testing and Monitoring
Periodically test your system to ensure all cameras are functioning correctly. Review footage to confirm that the cameras are capturing the desired areas and that motion detection settings are working as intended.
Conclusion
Installing a home security camera system is a proactive step towards ensuring the safety of your property and loved ones. By following this step-by-step guide, homeowners can effectively install and maintain their security cameras, providing peace of mind and a sense of security. With the right preparation, tools, and knowledge, you can create a robust security system tailored to your specific needs.
Investing in home security cameras not only protects your property but also enhances your overall sense of safety. As technology continues to evolve, staying informed about the latest advancements in home security will ensure that you are always one step ahead in safeguarding your home.
See Also: Wireless Home Security Solutions: easy protection for every household.
Leave a Reply